RBNDB
Serves to assist users in navigating and utilising the RBNDB
LOGIN
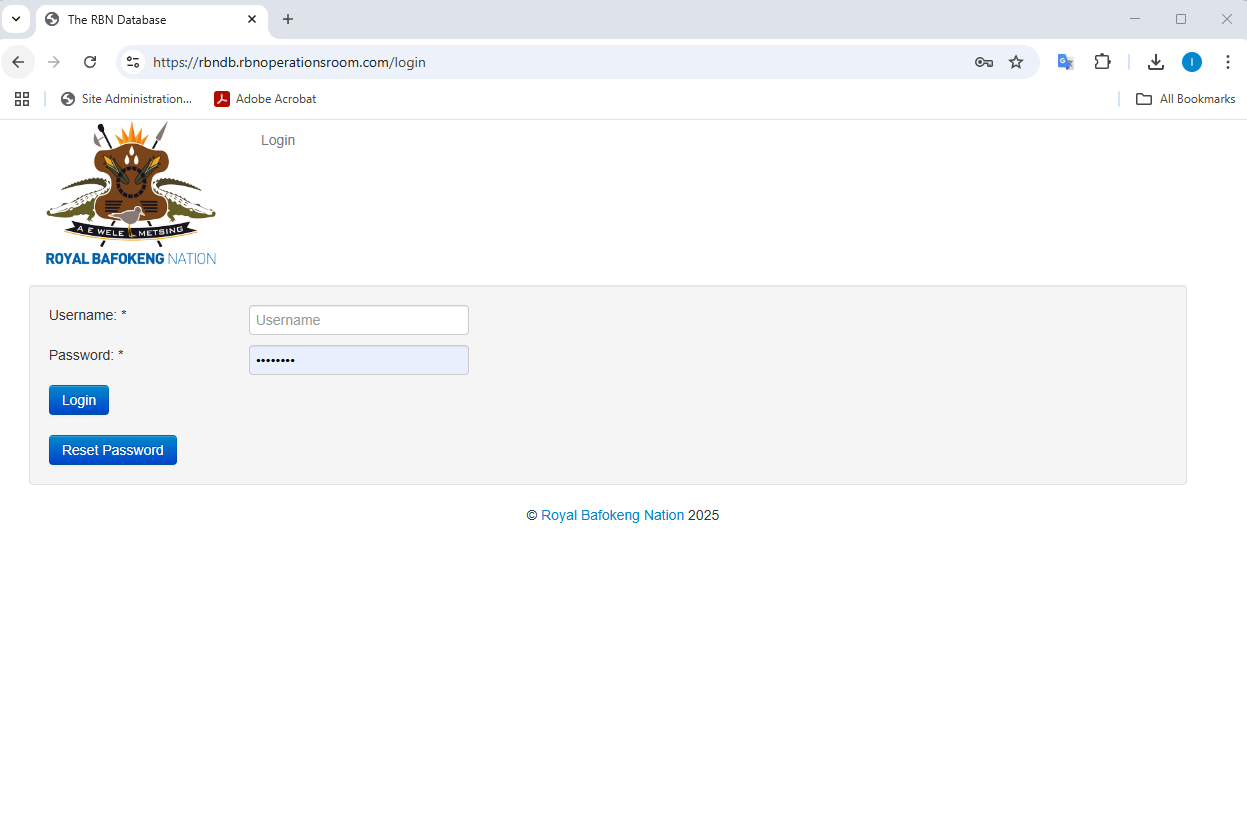
Contact OPMO if you are unsure of your username.
Should you need to reset your password, click on the reset password button.
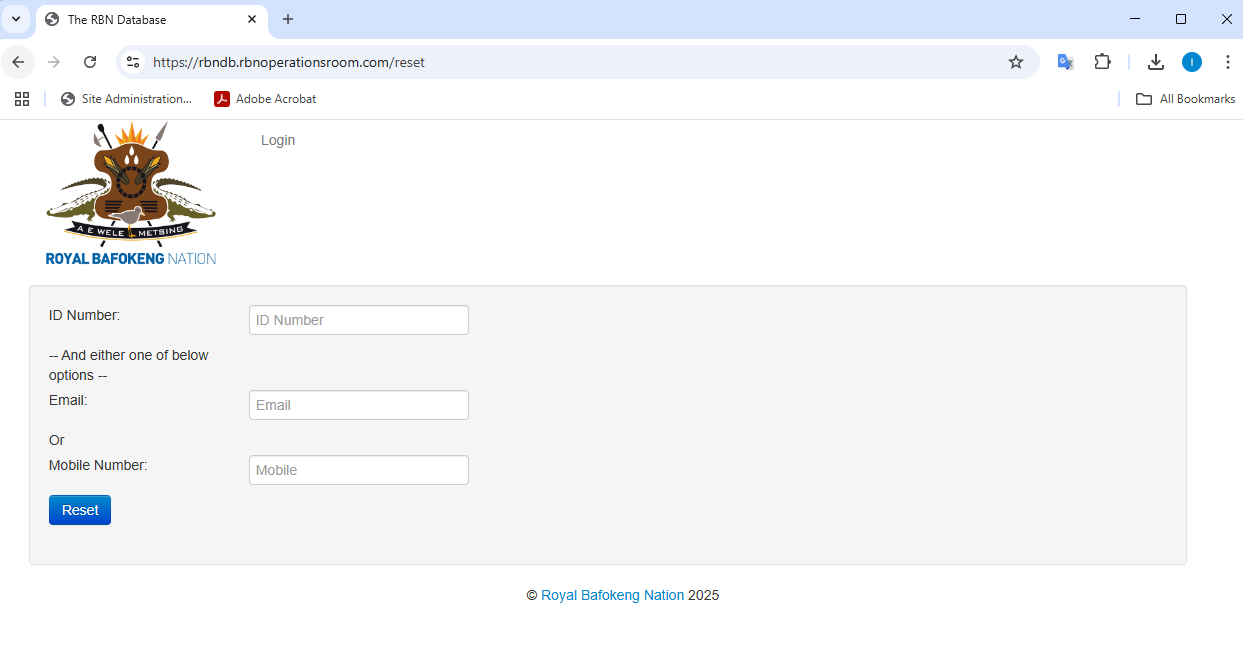
Input your ID number as well as the Email address associated with your account, do not use the Mobile number at this stage.
You will receive an email from the system.
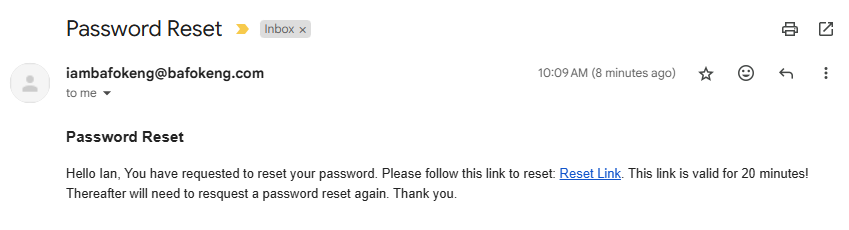
Click on the link and create a new password
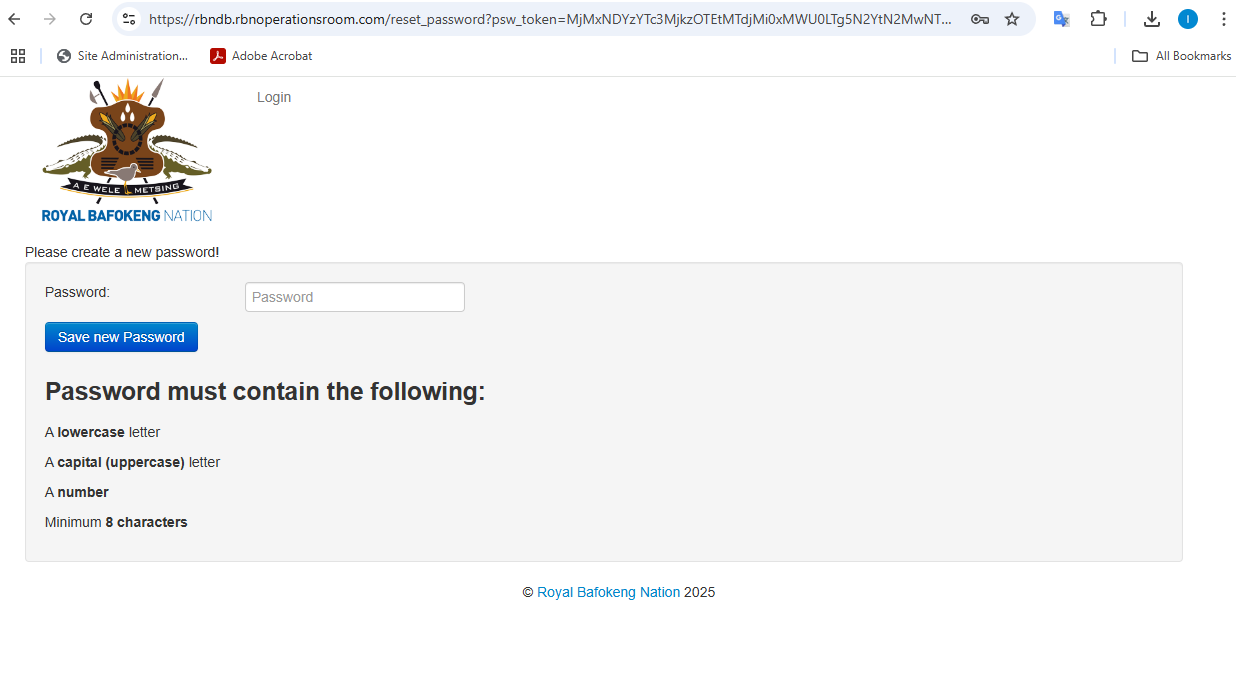
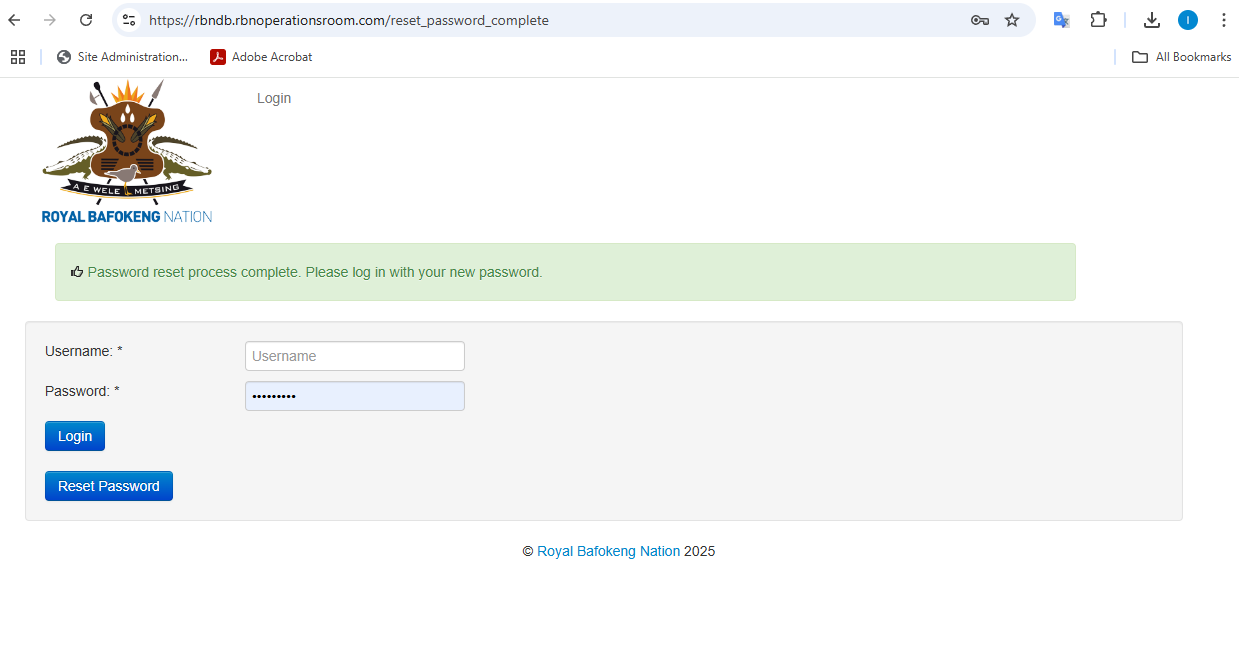
You will be redirected to the login page
IMPORTING INDIVIDUALS
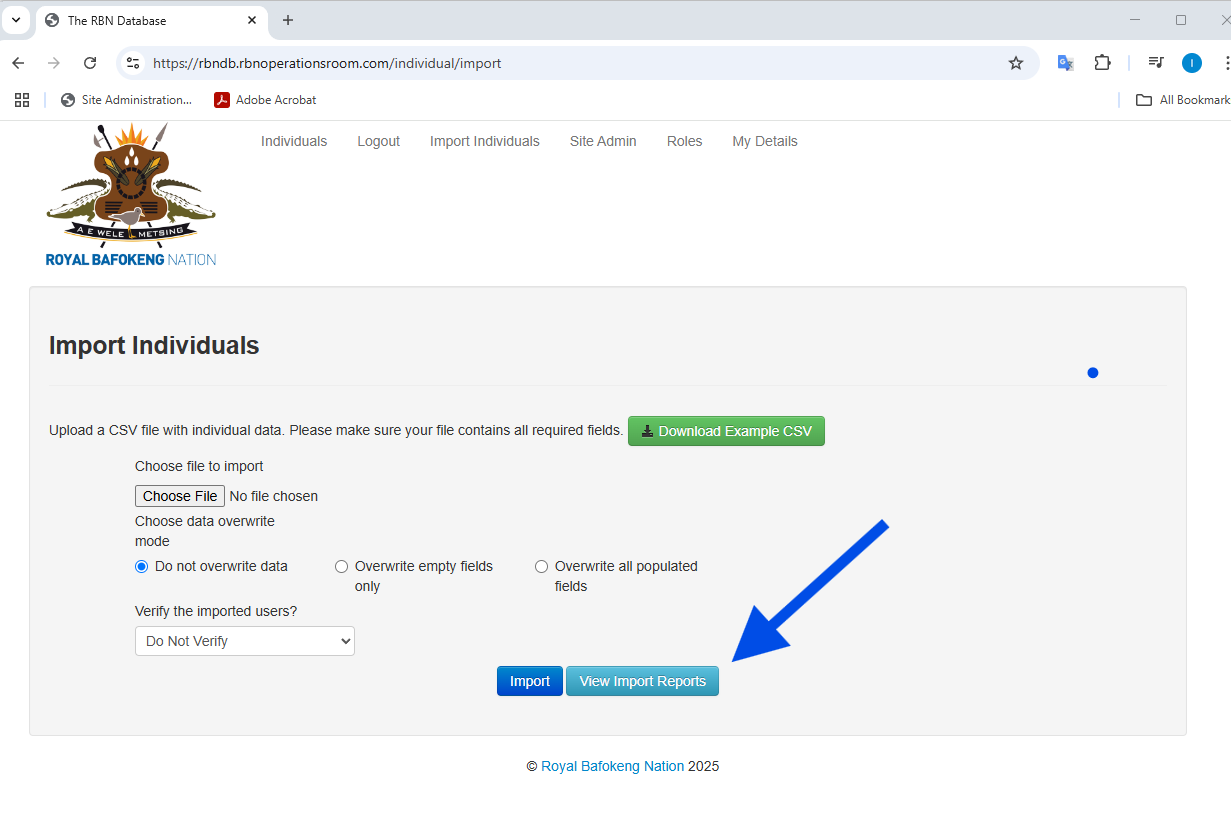
Import Individuals
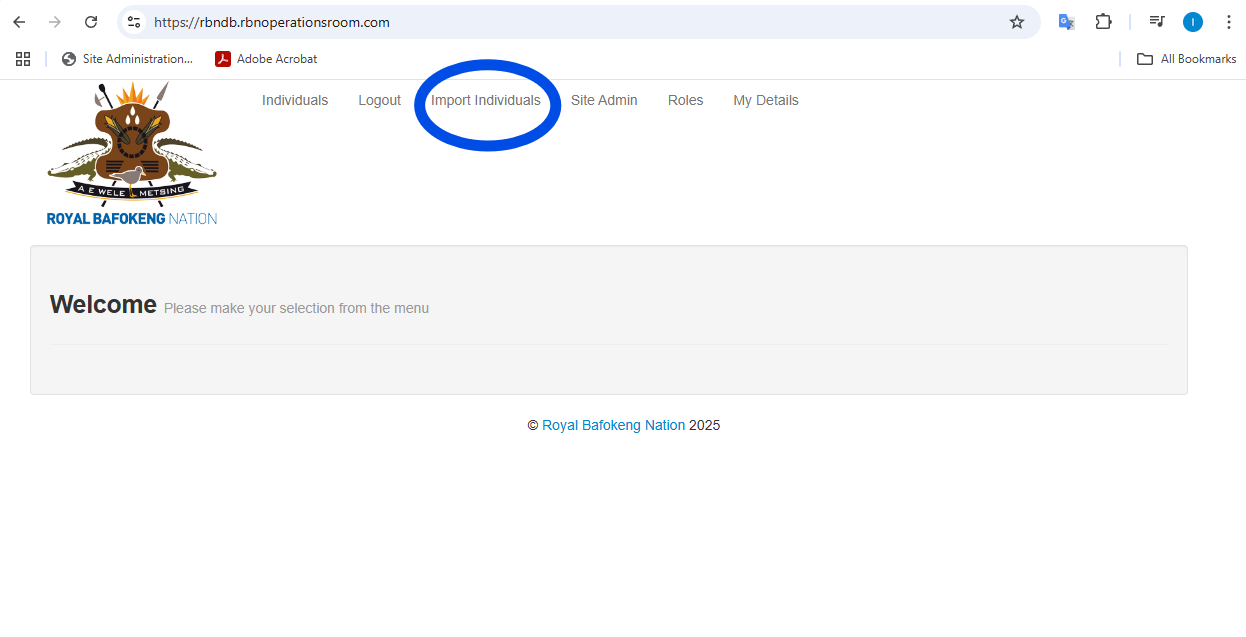
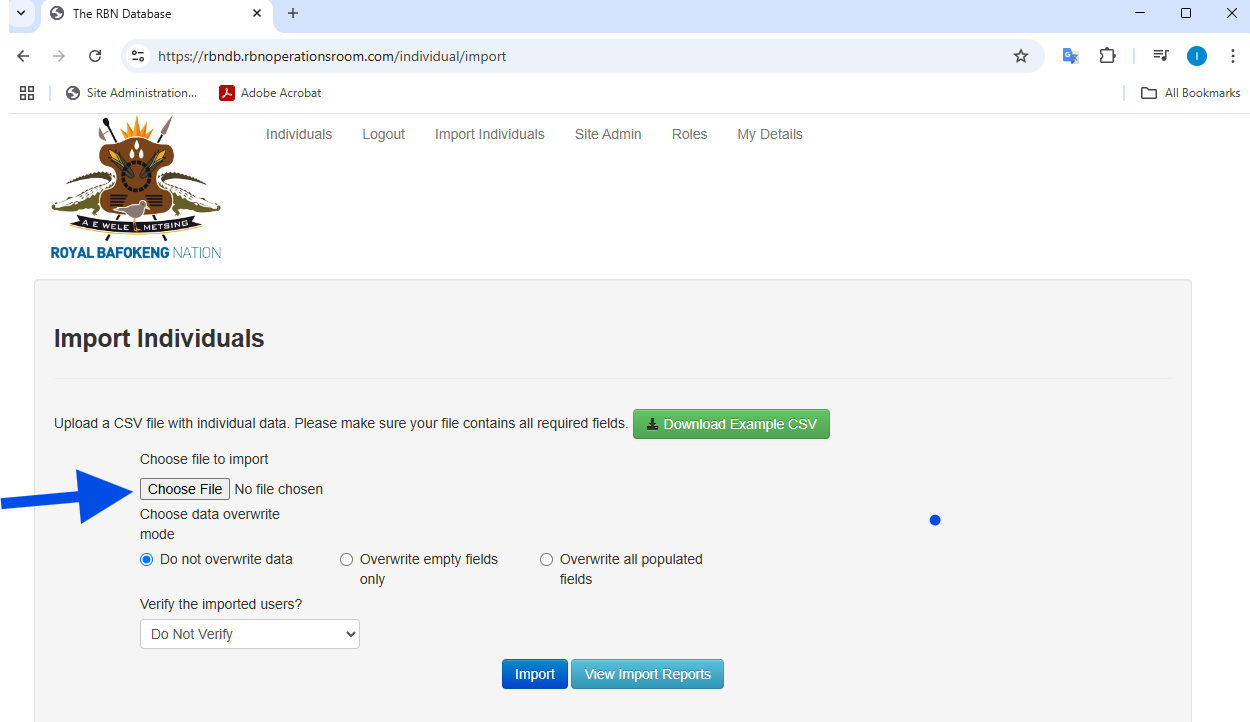
Once you are logged in navigate to Import Individuals in the top menu:
Download the Example CSV to ensure your Import file is the correct format.
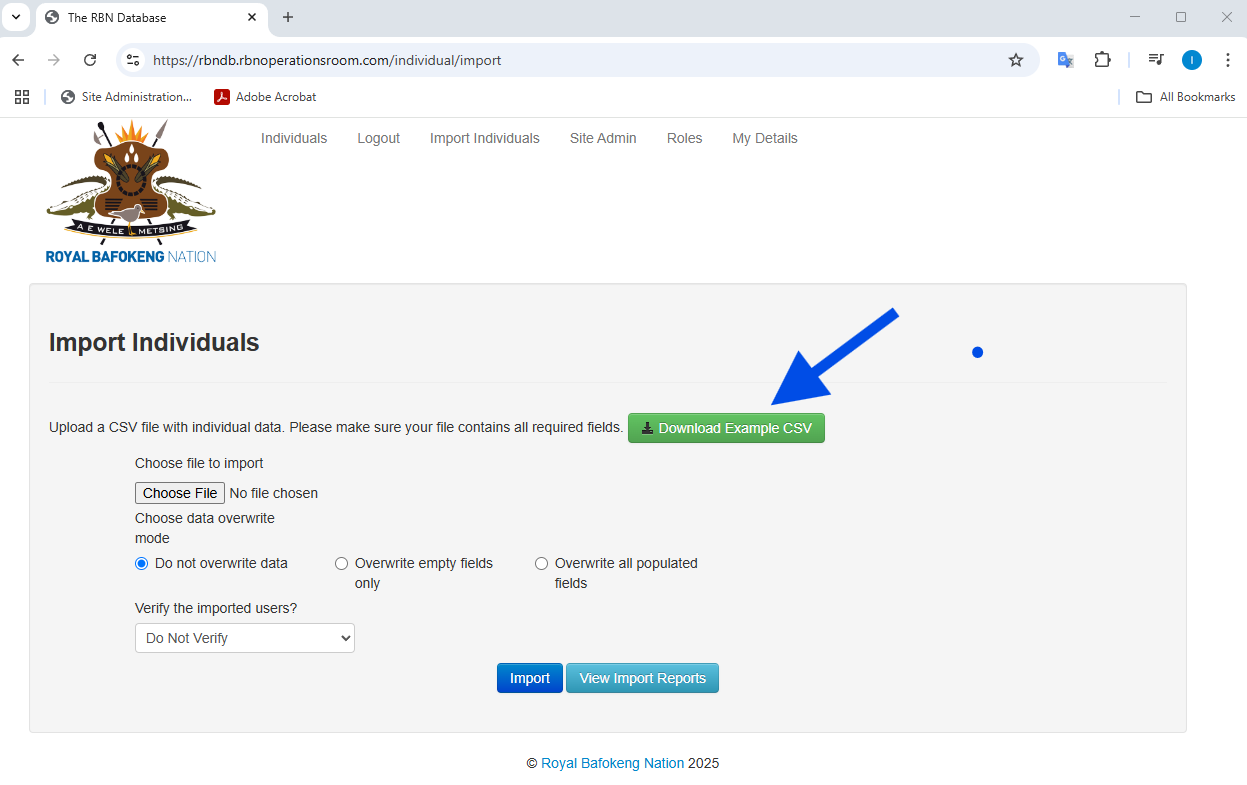
Ensure your Import fields consist of at least a valid ID number, First name and Last name.
Choose your file to import
Select one of the three overwrite options:
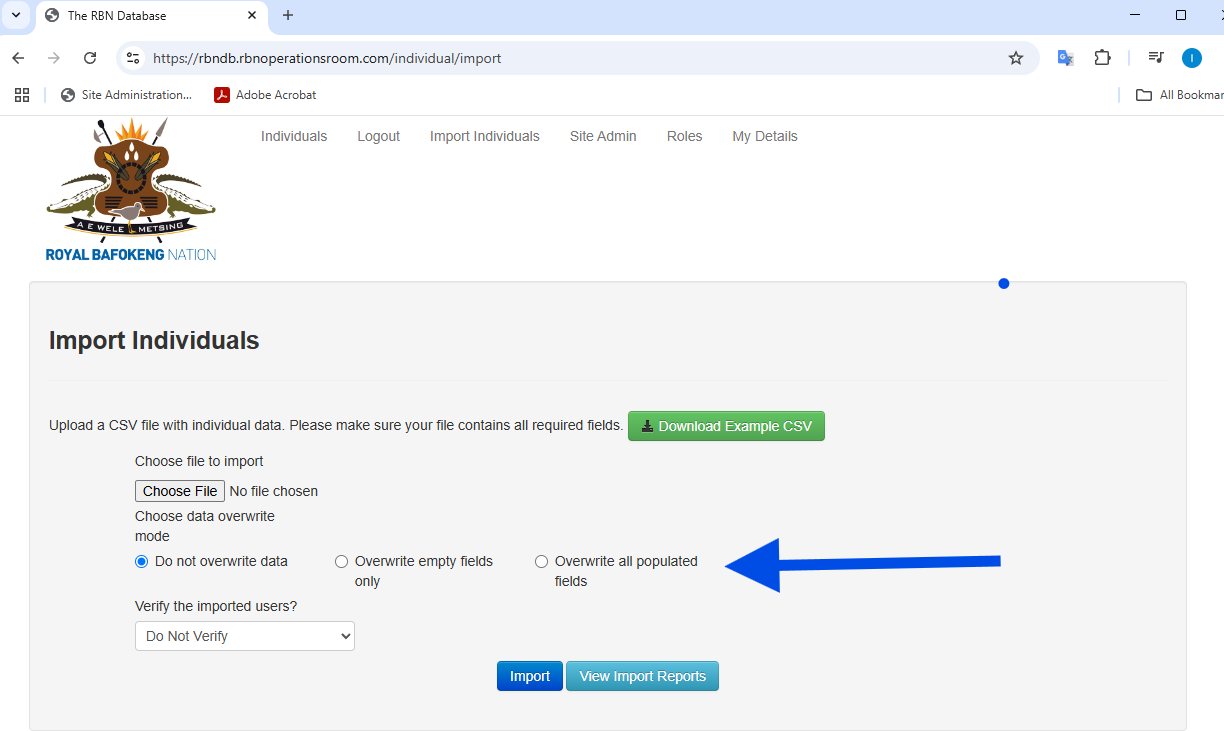
Do not overwrite: If the record exists it will not add any information, only adds new records.
Overwrite empty fields only: If the record exists and the he field is empty it will be populated.
Overwrite all populated fields: This will overwrite and add data to all fields.
Select to Verify the imported users:
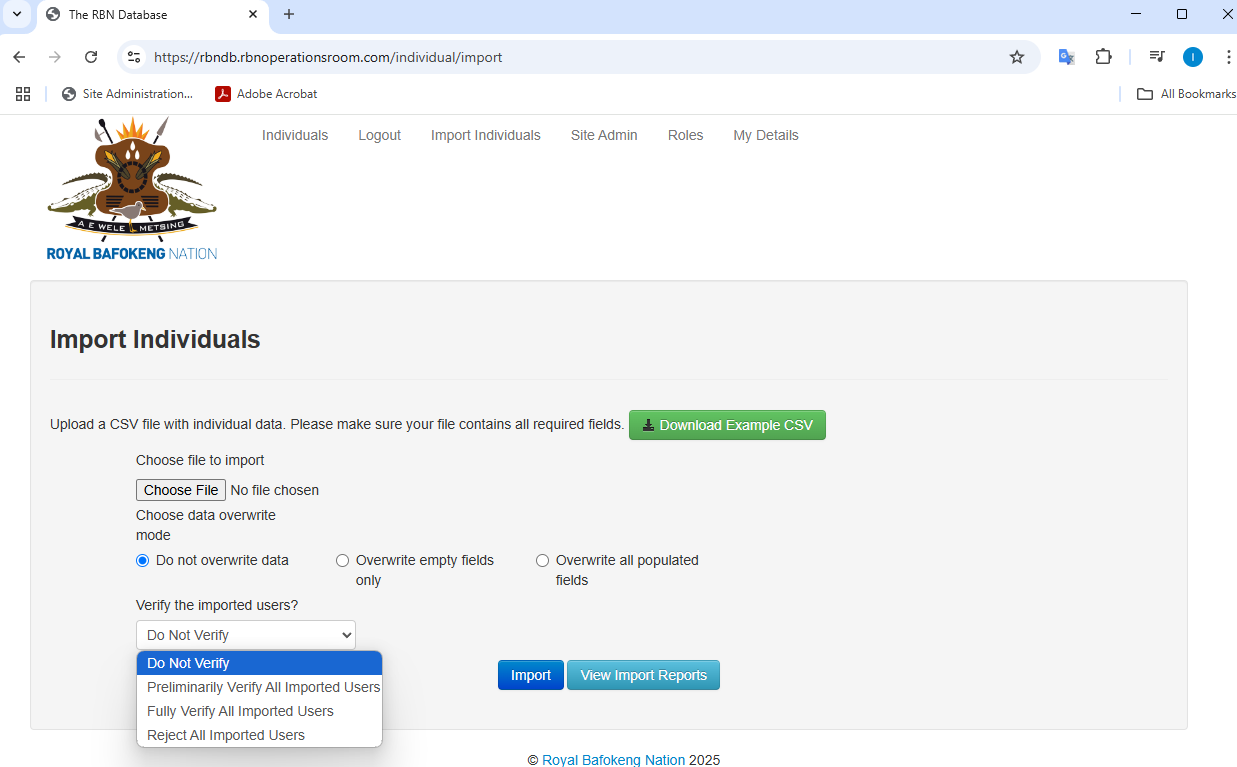
Do Not Verify: This will not verify any of the records.
Preliminarily Verify All Imported Users: All records in the import will be marked as preliminary verified.
Fully Verify All Imported Users: All records in the import will be marked as fully verified.
Reject All Imported Users: This will mark all the record in the import a rejected.
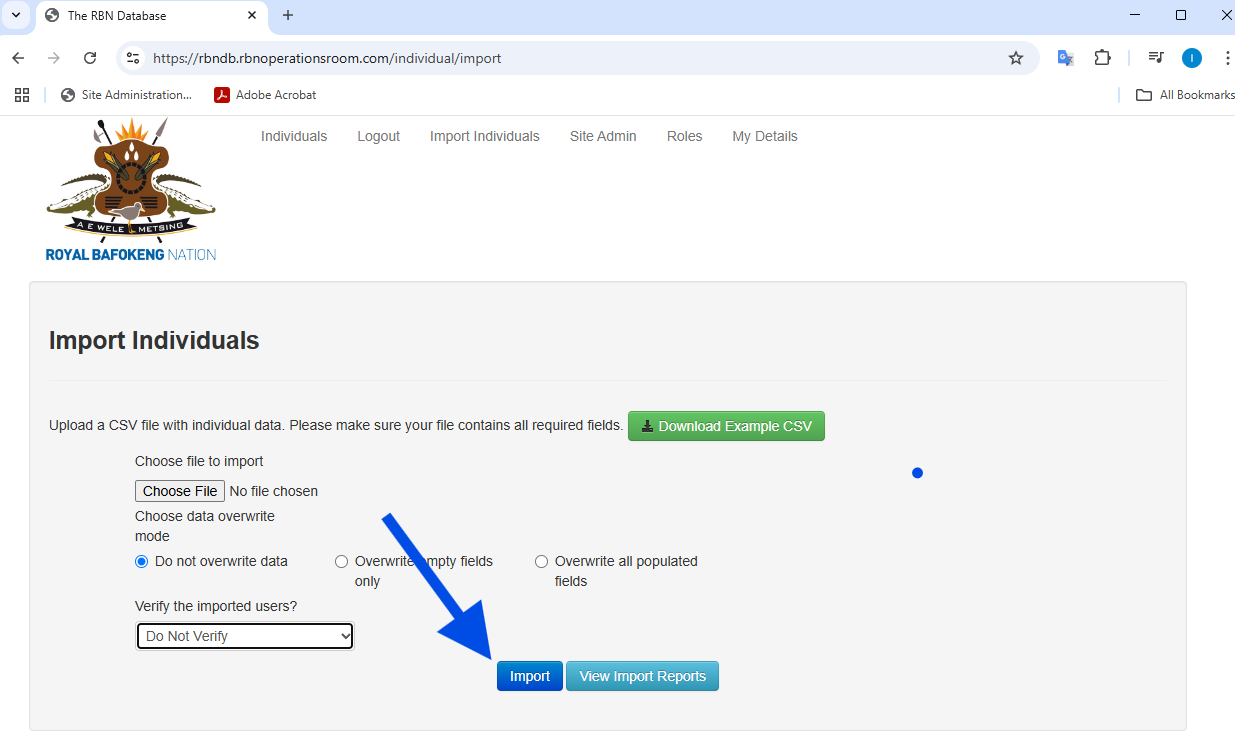
Once happy with the options click on Import:
Viewing Imports
You will see the list of previously imported files:
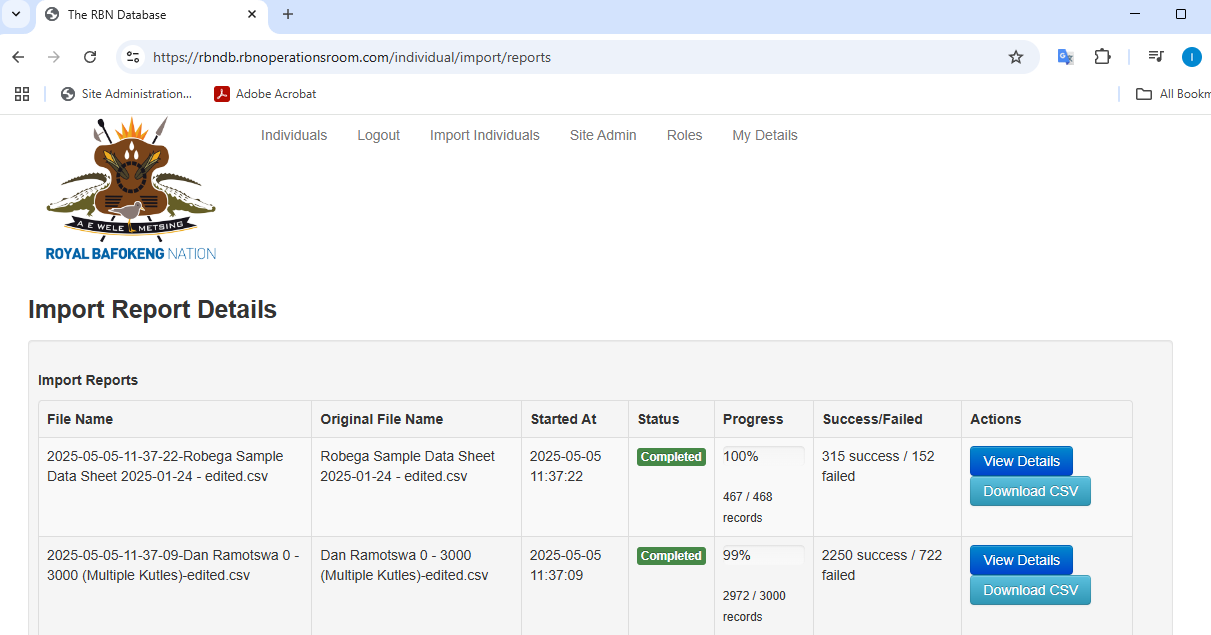
The progress is displayed in the progress column and gives an indication of the success and failure rate.
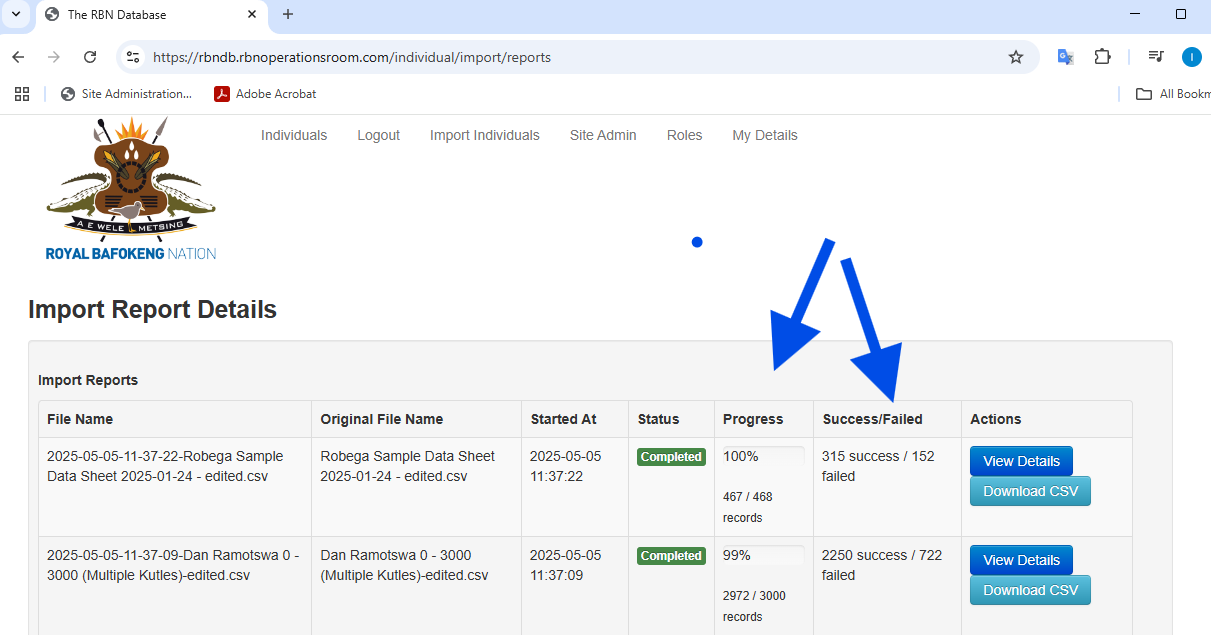
You can view the details of each record whether it was successful or failed by clicking on the View Details button

View Import Details
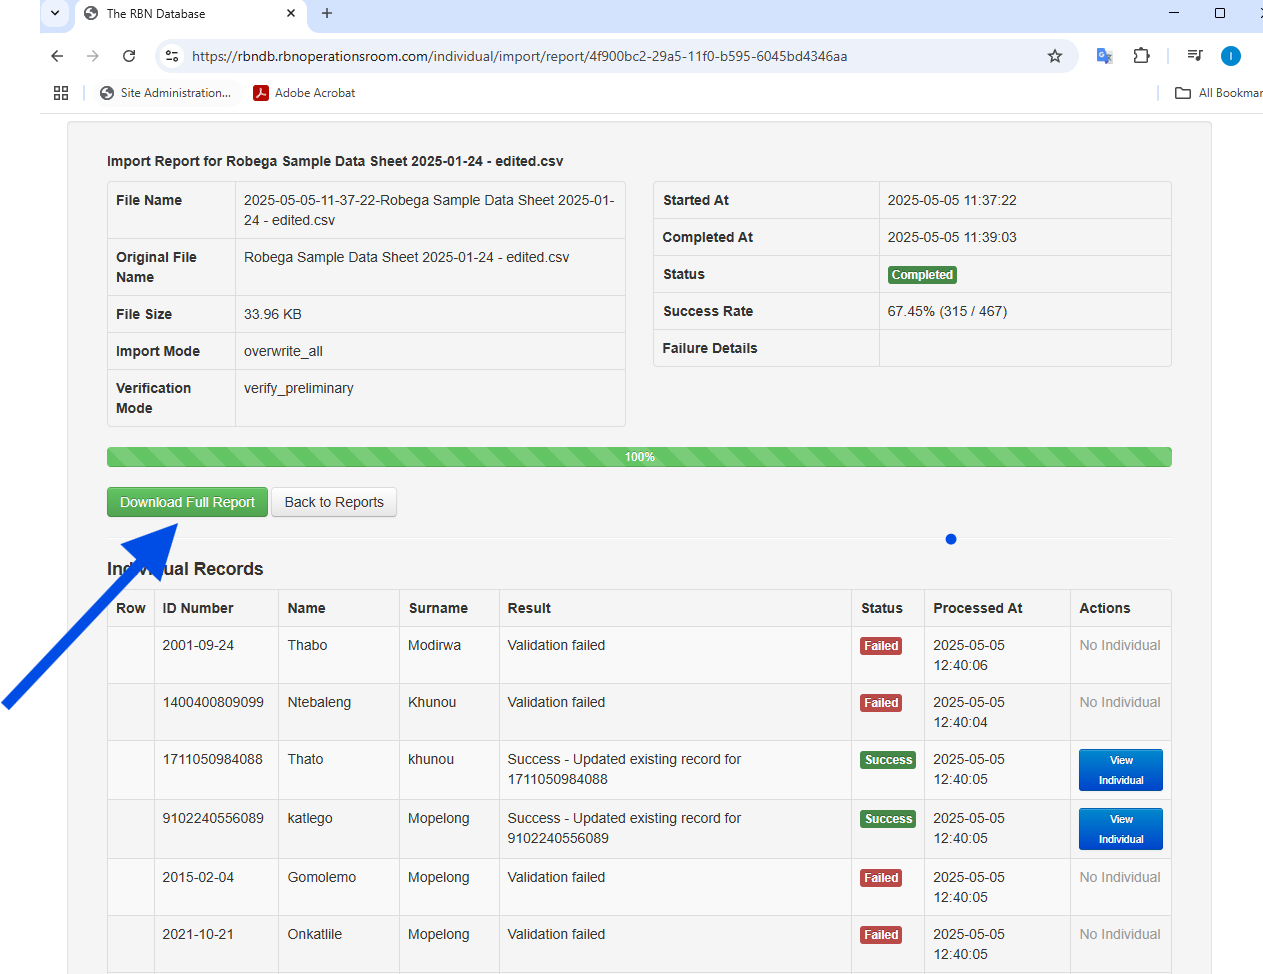
Click on the View Details button when on the View Import Report page
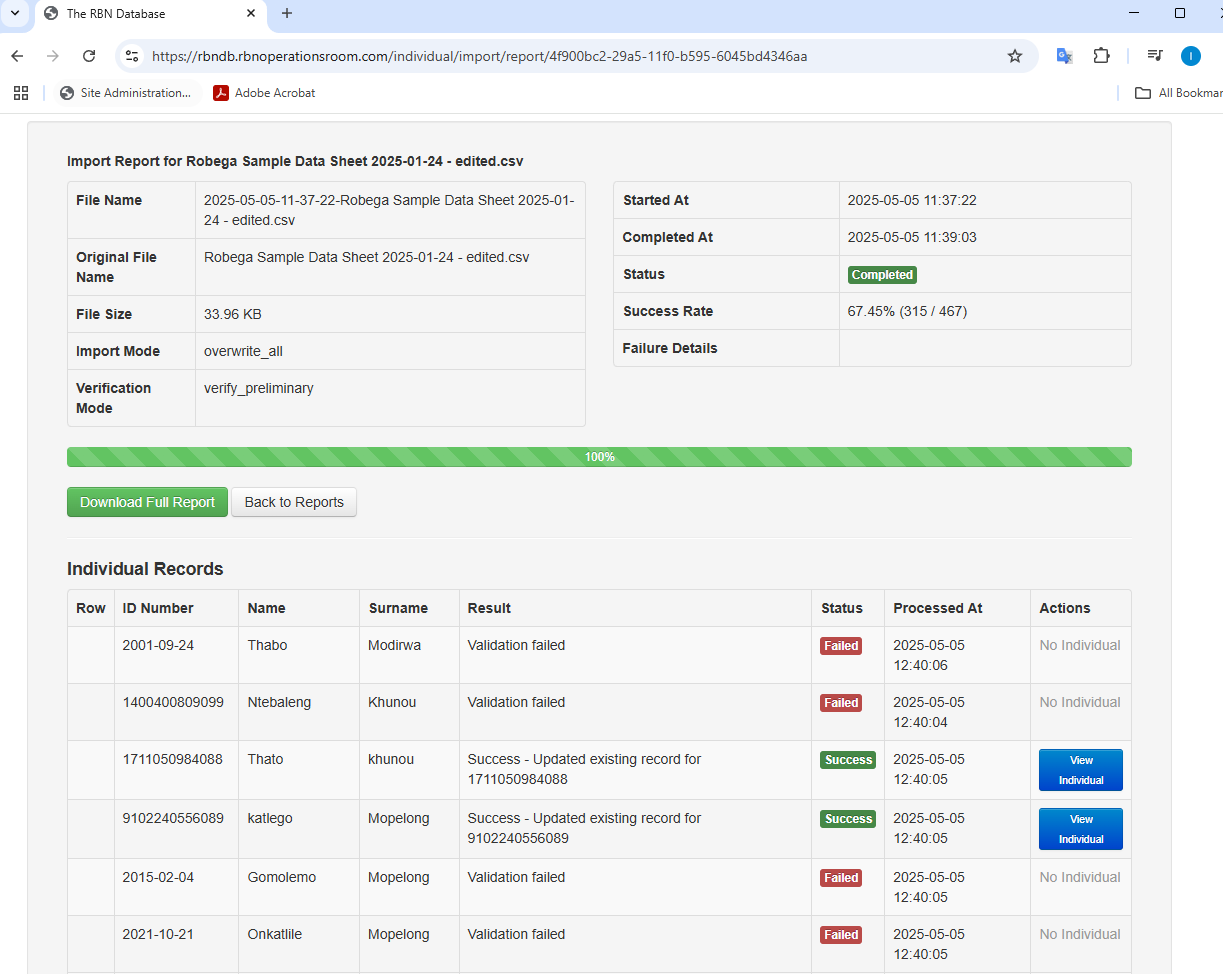
This page gives you all the details of the import per file uploaded. If the import is still busy, the progress bar will give an indication of the time left to complete the import.
The report consists of the ID Number, Name and Surname. The result and status of the import for each record is displayed. There is also button which will take you to the linked individual on the system for verification.
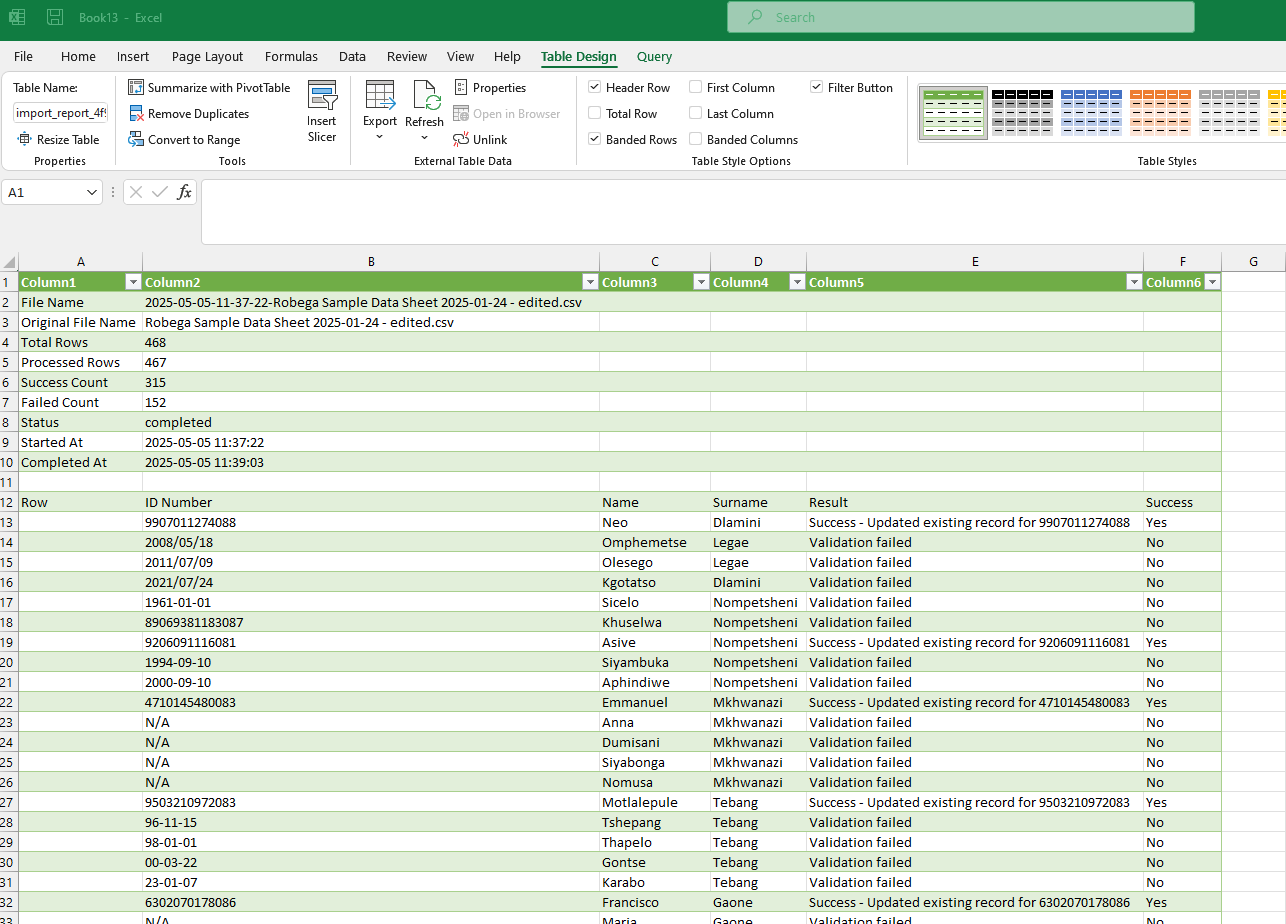
A full CSV export is available of the import is available by clicking on the Download Full Report button.
The CSV download can be imported into Excel for analysis
REGISTERING A DEATH
New Death Record
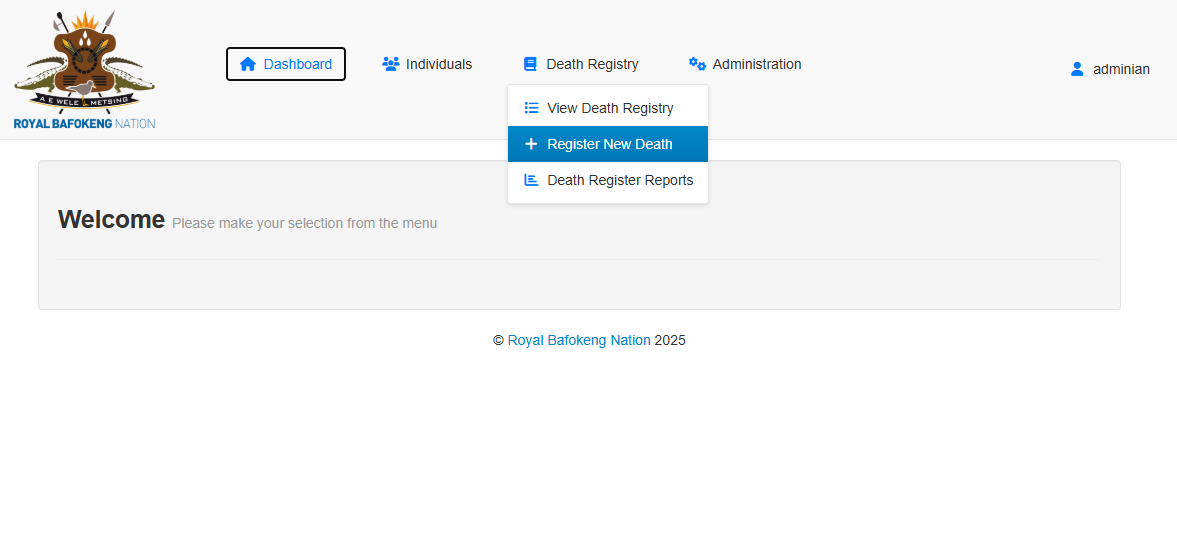
Create a Death Record:
Hover over the Death Registry Menu and click on the + Register New Death
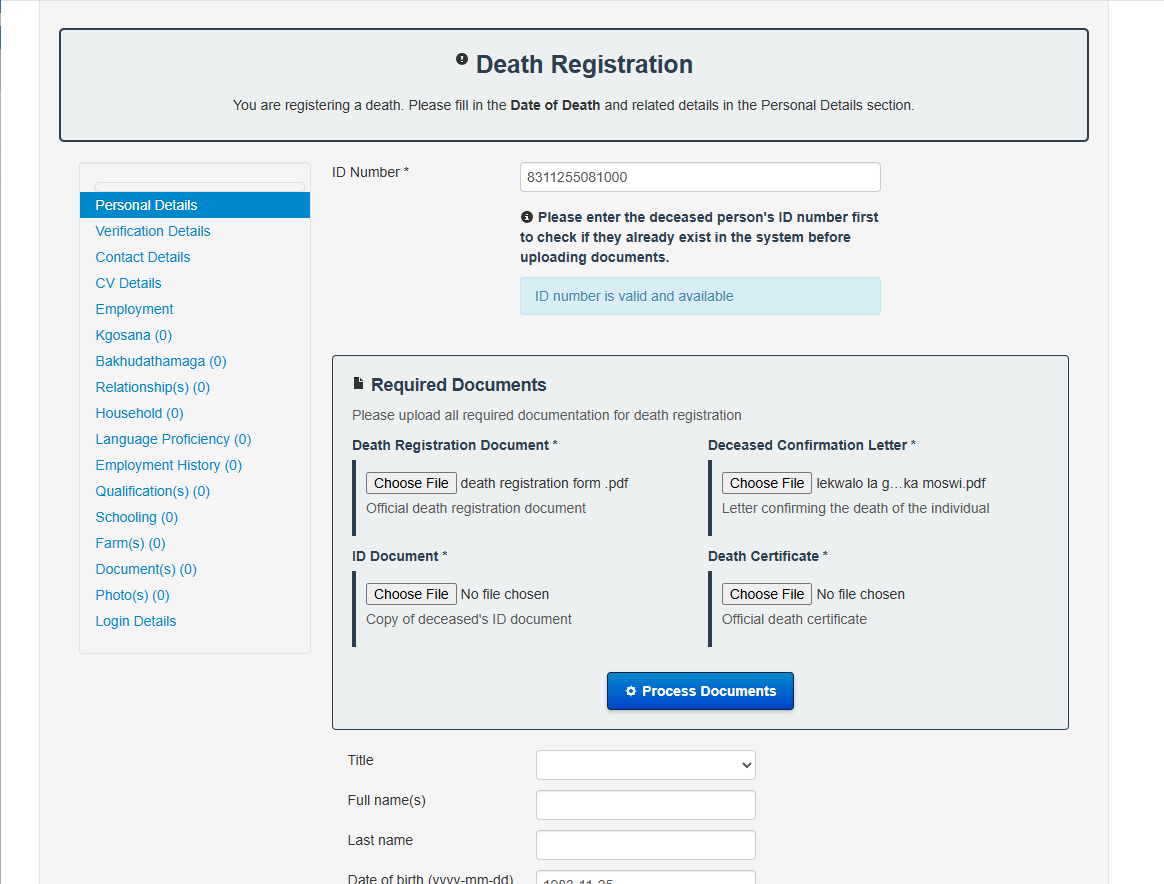
Enter the ID number you are wanting to capture form their documentation.
- It will let you know if the ID Number is Valid and Available (Not captured in the system already).
- Should it find the ID Number already exists a link will be provided to continue to the Individual and continue the process from there.
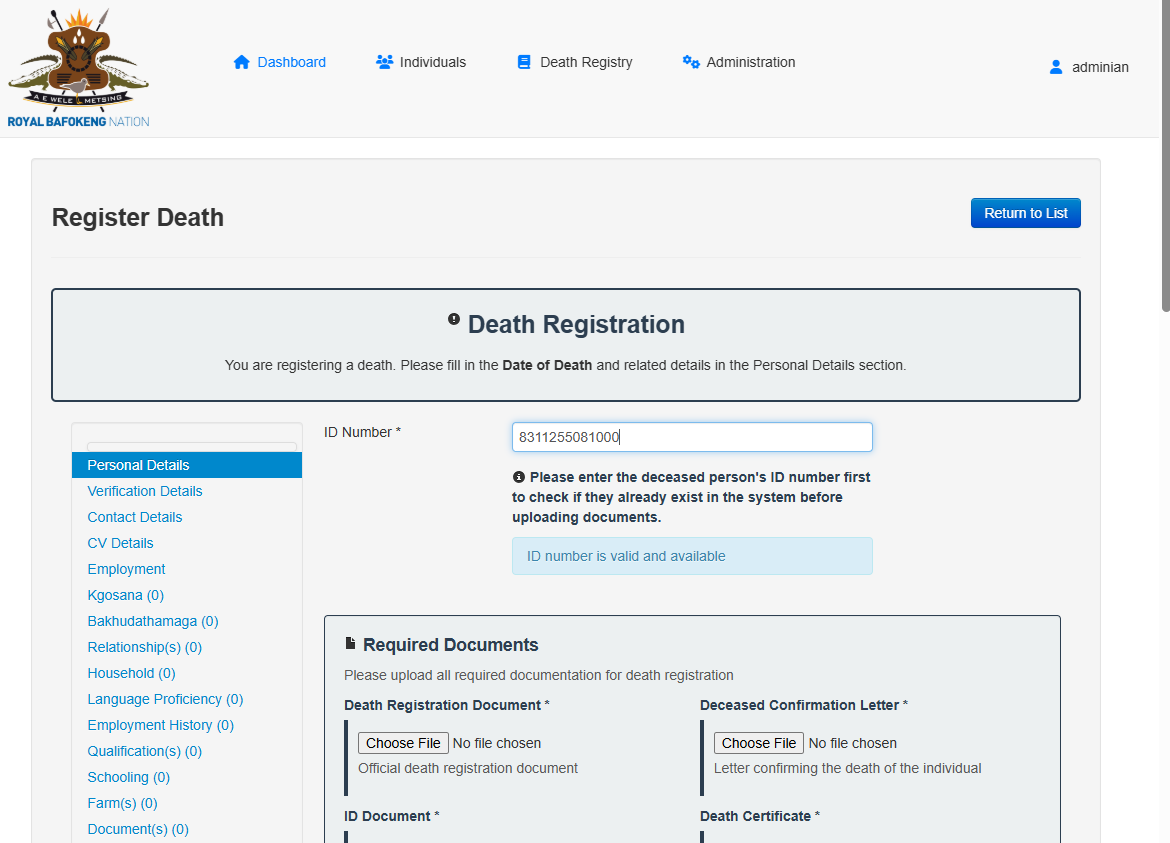
Continue to upload the required documents
- Death Registration Document
- Deceased Confirmation Letter
- ID Document
- Death Certificate
Once the documents have been selected click on Process Documents
Once the Process Document is clicked a layover screen will appear, it shows
- The documents you are processing in each tab on the lefthand side of the screen
- The Keys and Values it was able to extract from the document on the right.
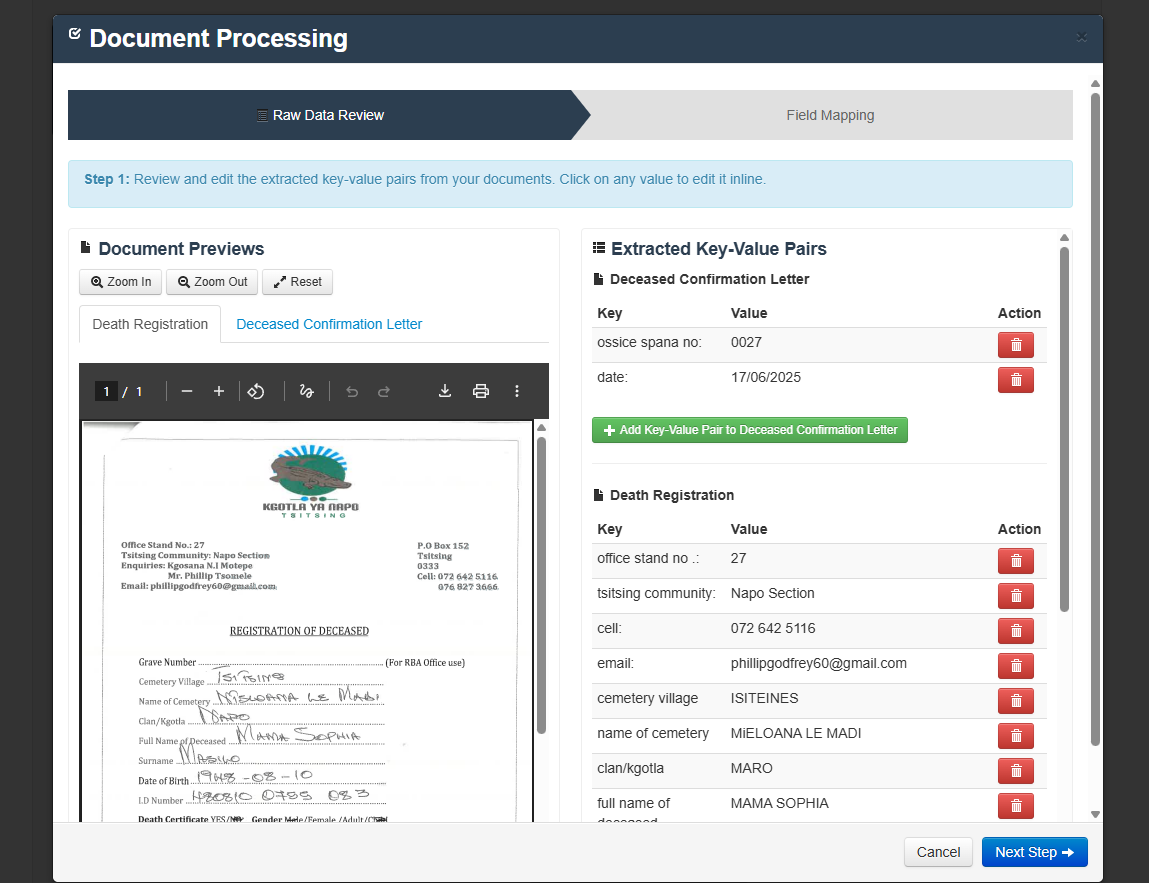
The Azure Ai and document processing does it's best to accurately extract the data, however there are more limitations to handwritten and scanned documents. The higher the quality of the document the better the extraction.
Edit the righthand side of the form as best as possible and ensure the correct information is captured. You may edit the Key as well as the Value by simply clicking on each item's key and value they will save automatically. If there are any key/values which you do not wish to keep you can simply delete it.

Once you are happy, click on the Next Step button.
Look and compare the documents on the lefthand side and go through the populated fields, if there multiple options from each of the documents you may select the correct option. If the correct option is not available you may override each field as needed.
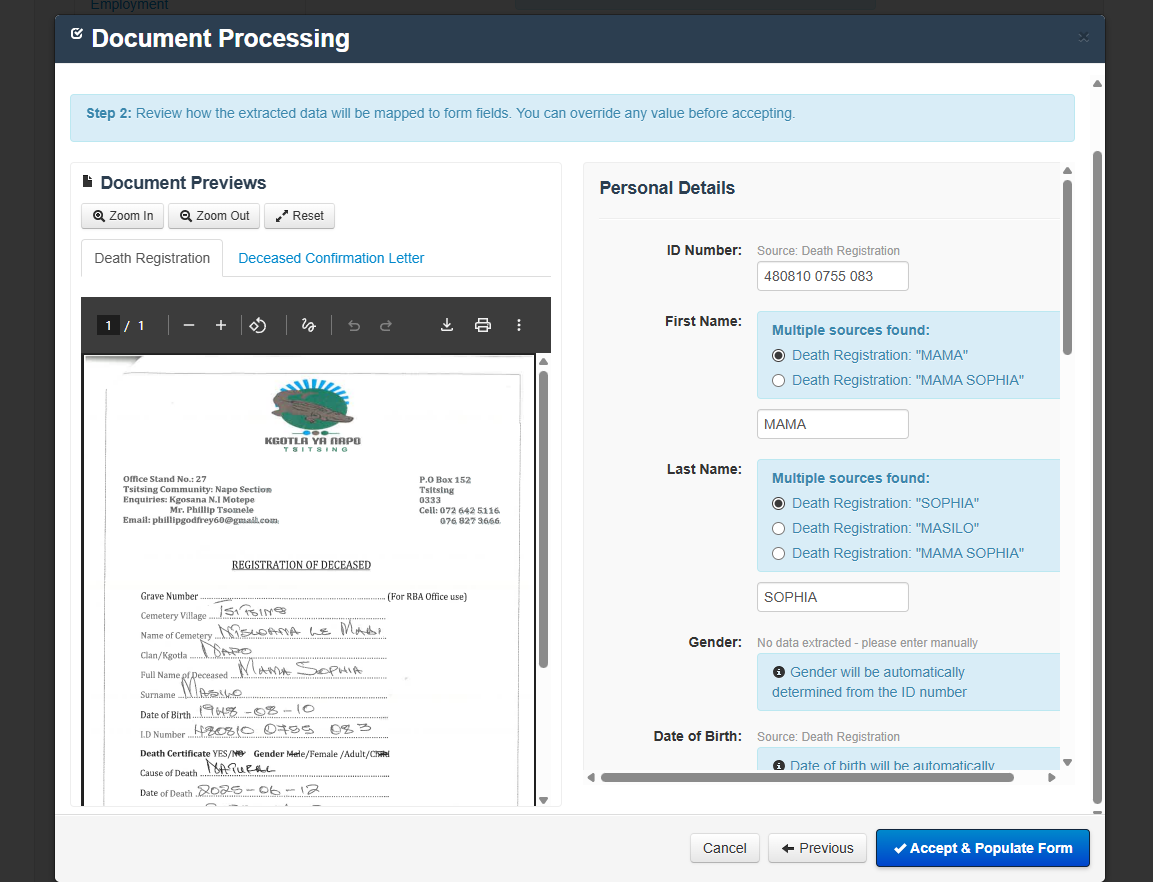
When you are happy with the populated fields click on "Accept and Populate Form button"
The fields will populate on the Individual form where applicable. Once all the applicable fields have been captured, click on the Save Death Record button.
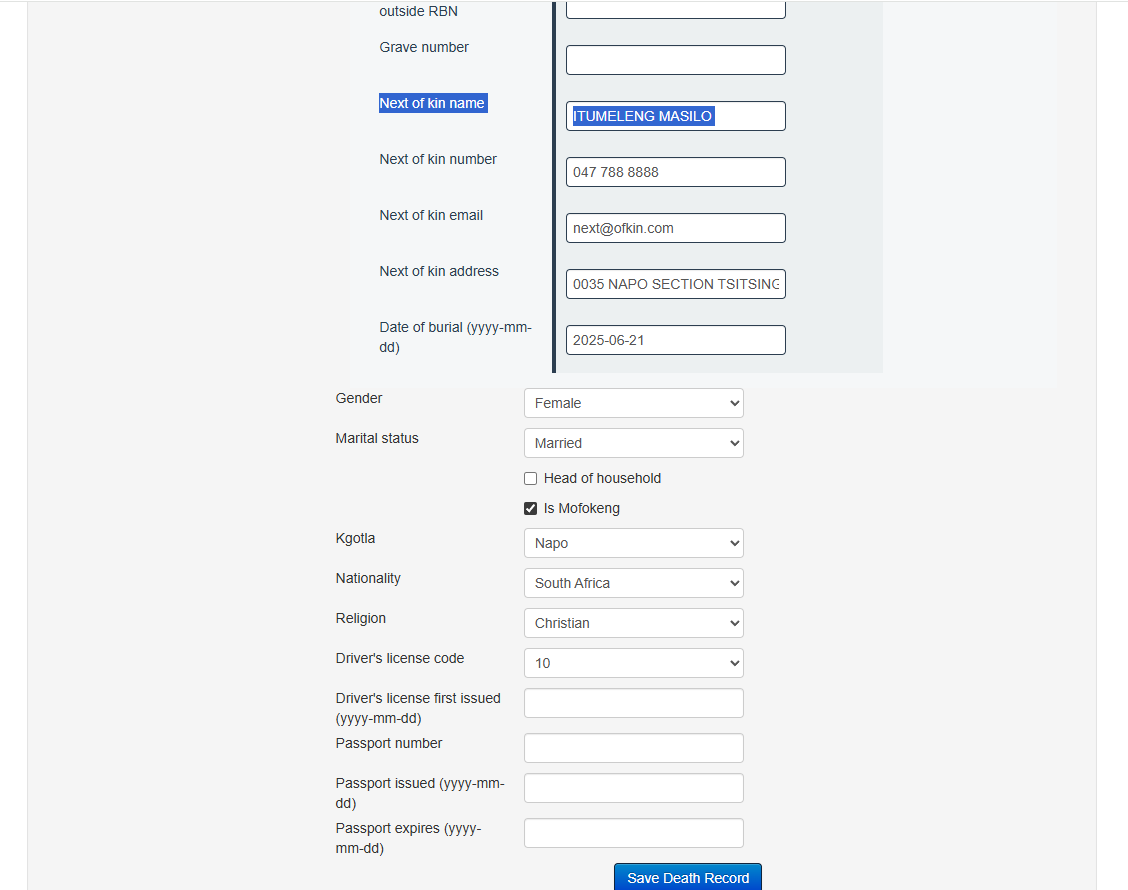
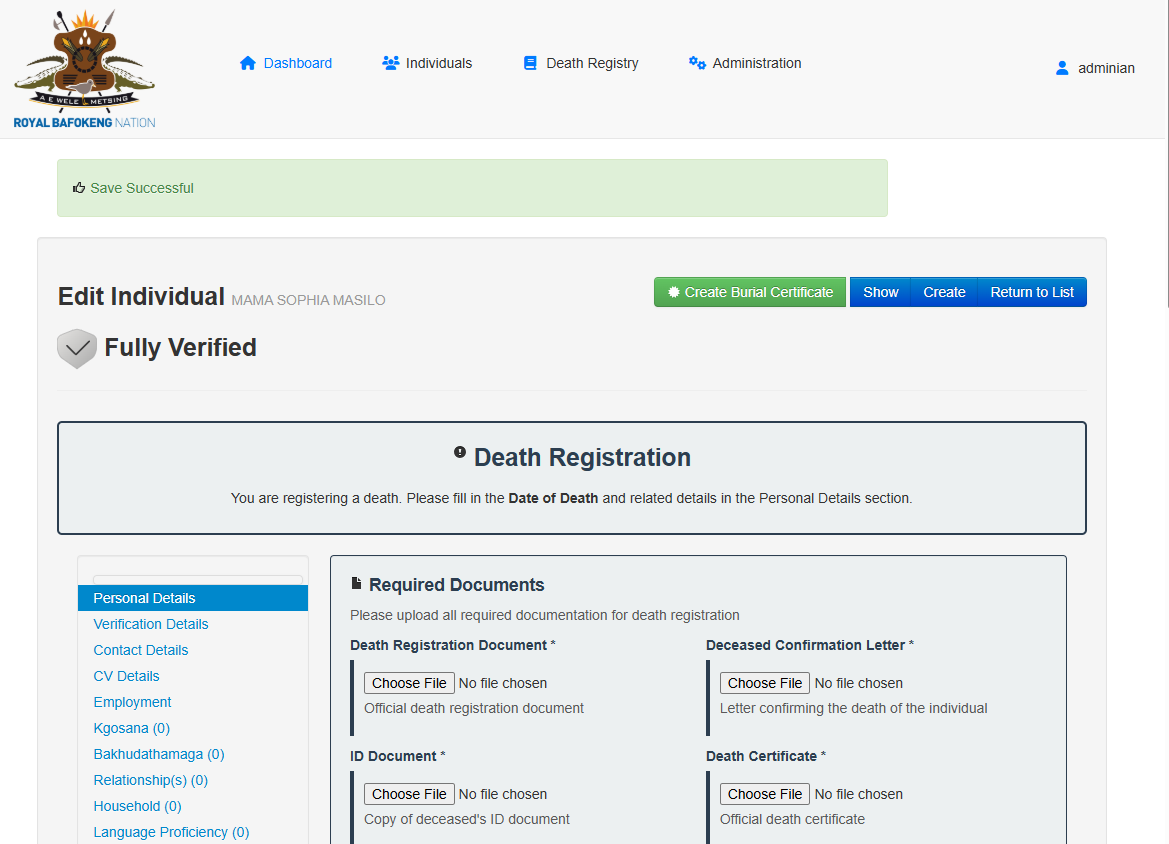
System will show you that the save is successful. And you will then be able to create the Burial Certificate to print for the Next of Kin.
Click on the Create Burial Certificate button.
Create Burial Certificate
Navigate to the appropriate individual and edit the individual in the death register list.
Click on the Create Burial Certificate button.
A new Popup will open with the documents and the form to process
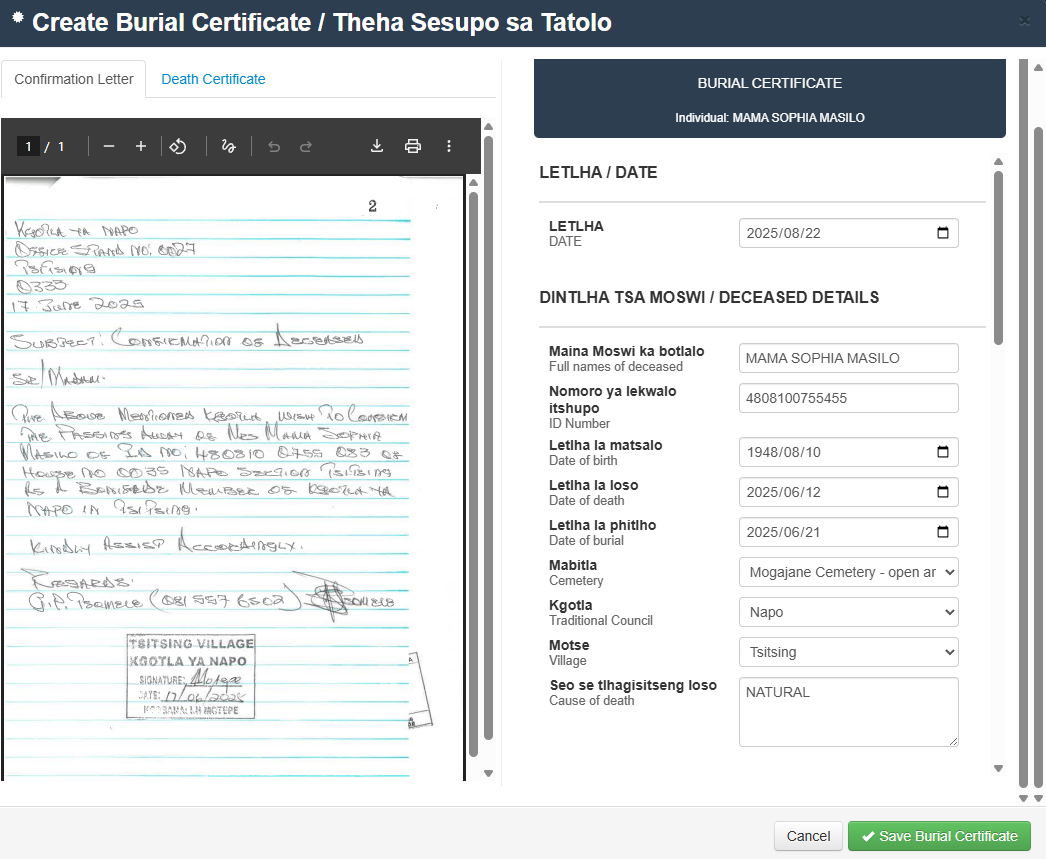
Populate the form fields double checking the documents for accuracy.
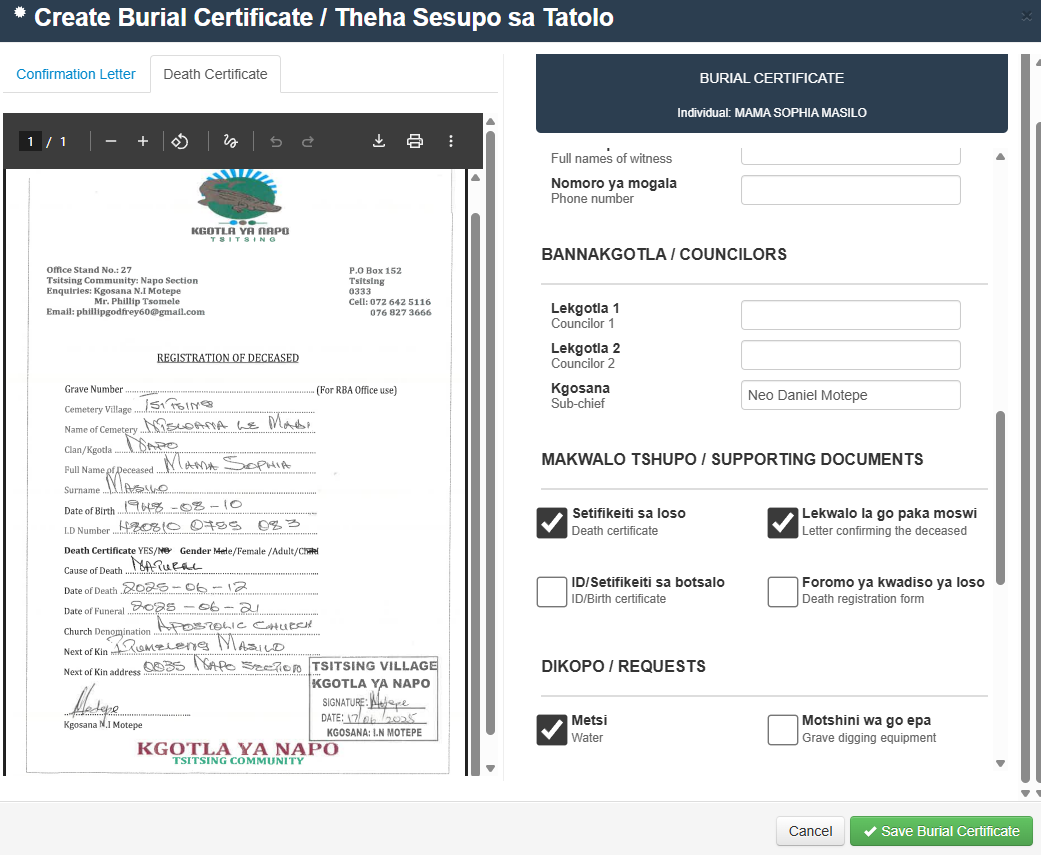
Click on Save Burial Certificate.
Once the Burial Certificate form is saved the Burial Certificate will be available under the documents tab of the individual.
Download/Print Burial Certificate
Once the Burial Certificate form is saved the Burial Certificate will be available under the documents tab of the individual.
Navigate to the Documents tab of the Individual and select your requirement
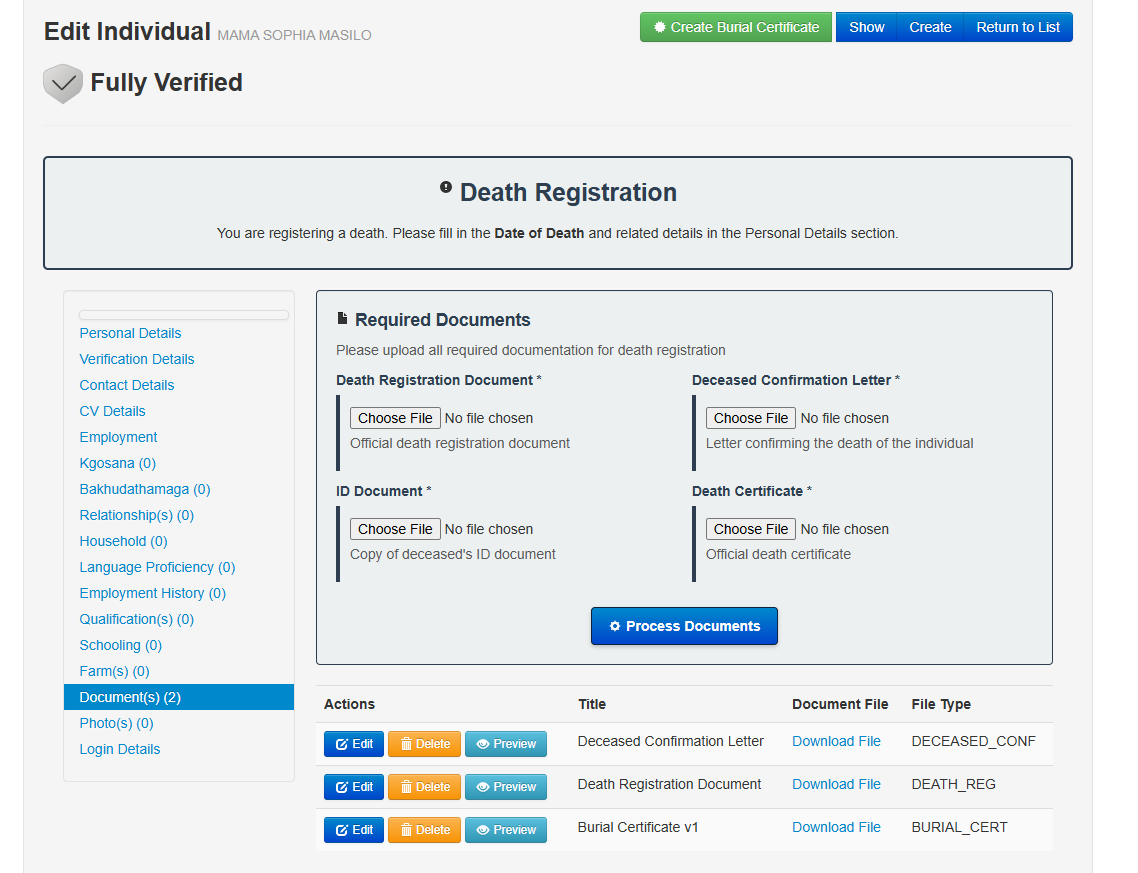
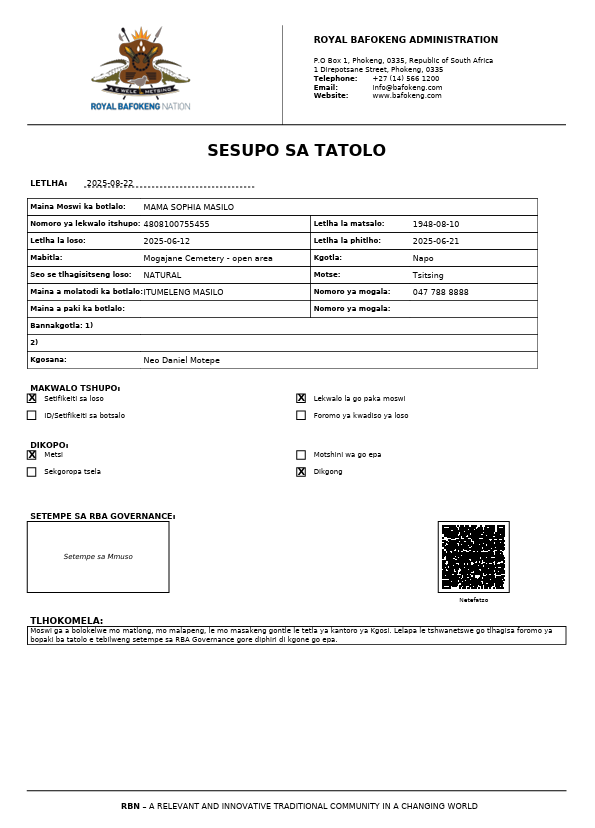
Preview/Download/Print the Burial certificate for you or next of Kin.
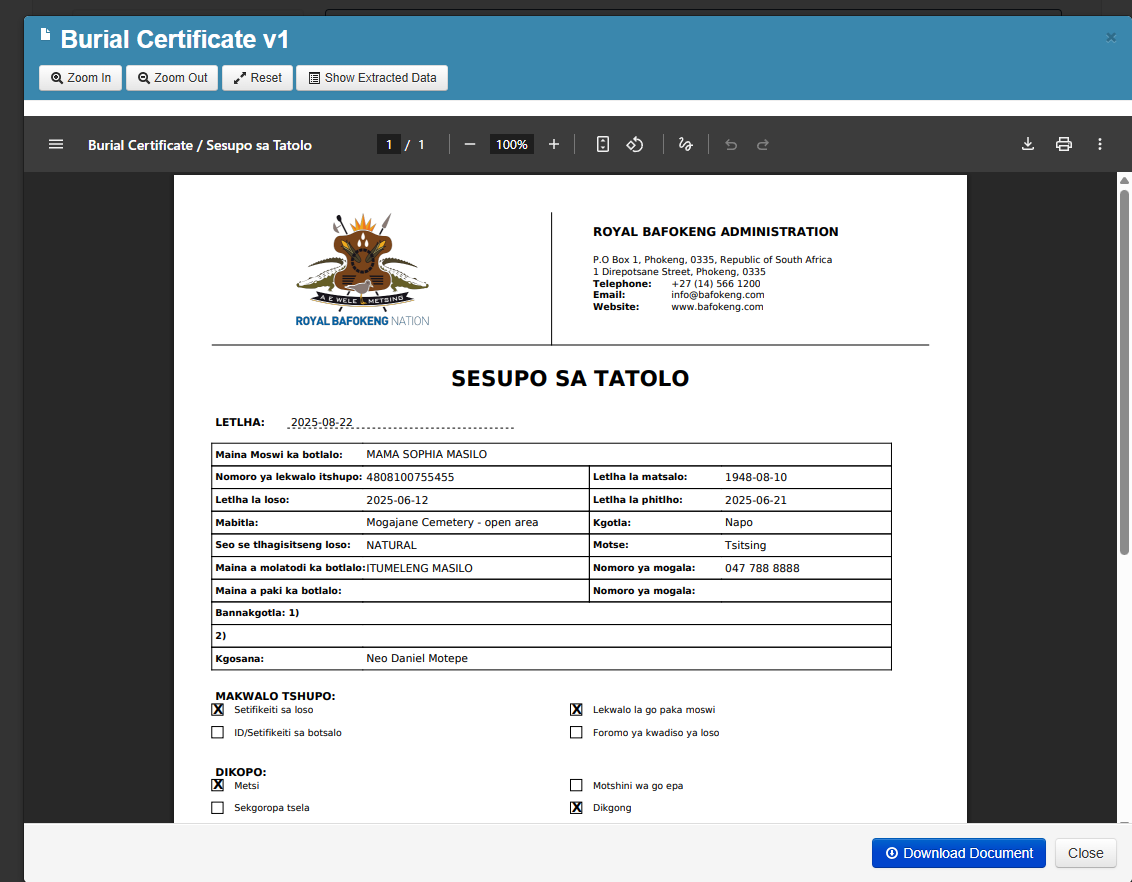
Print the Burial Certificate
DEATH REGISTER REPORTS
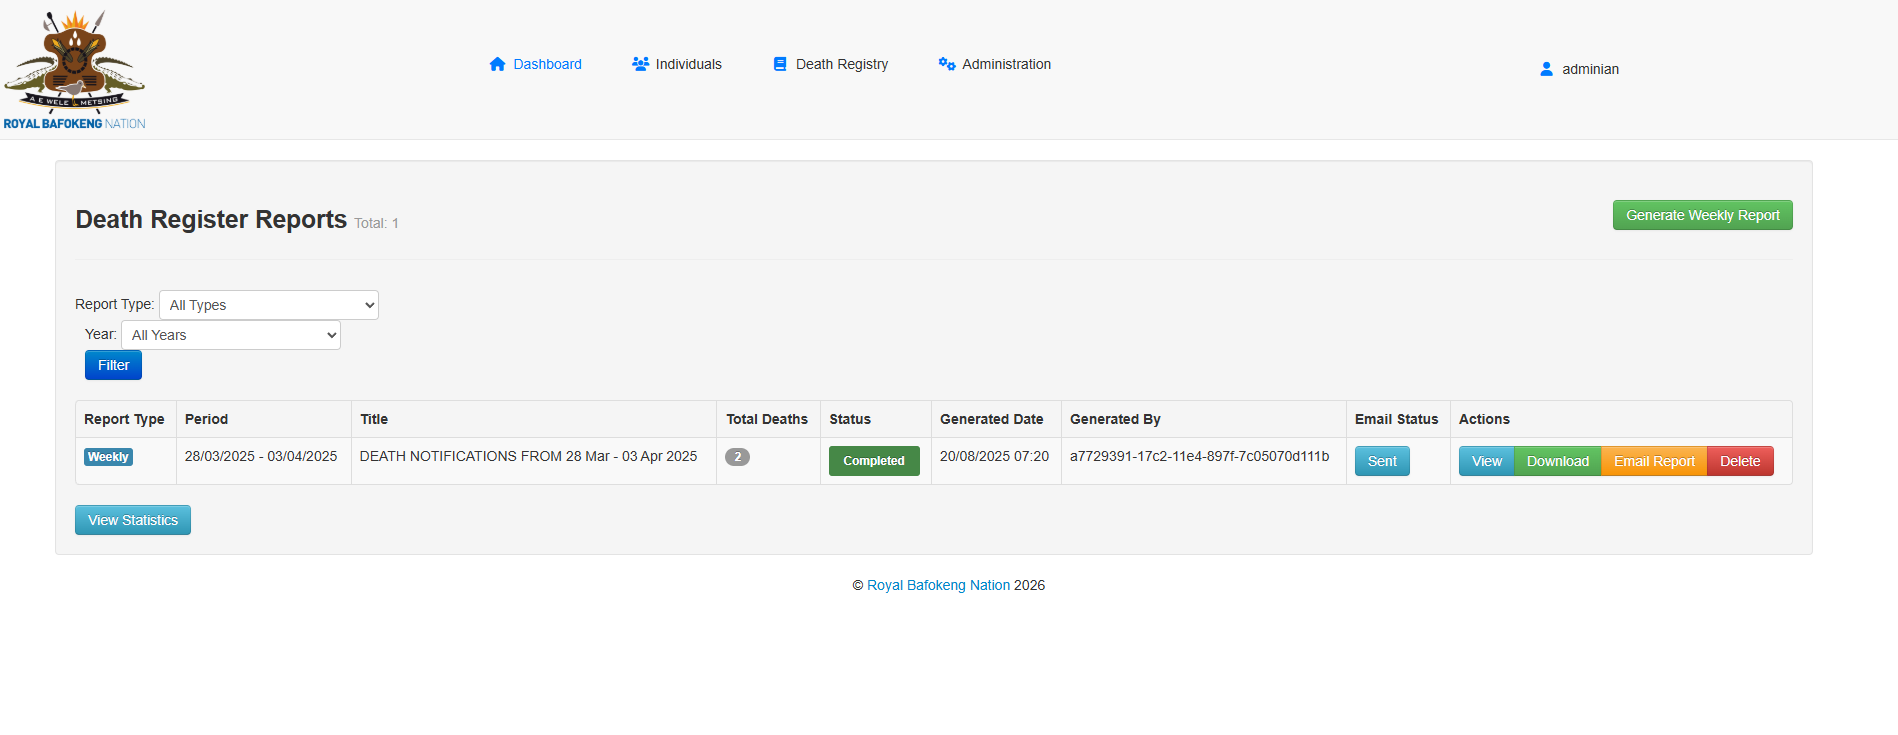
Create Death Register Reports
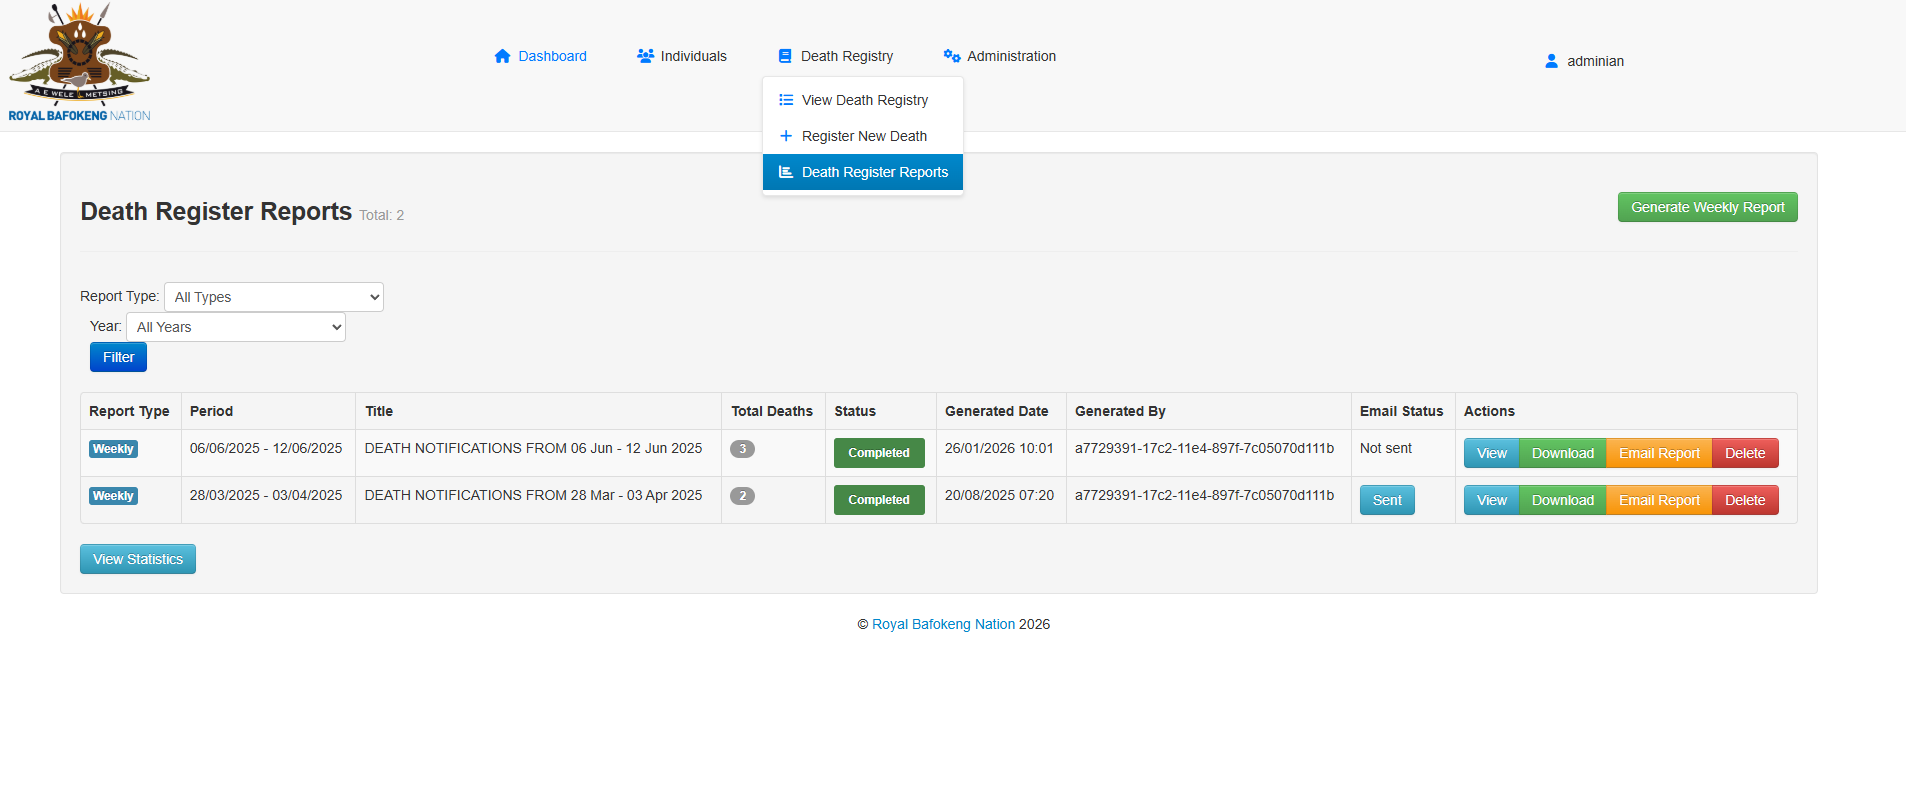
Navigate to Death Register Reports
Hover over the Death Register in the top menu and select Death Register Reports

Generate the Weekly report
Click on the Generate Weekly Report
Generate Report
Select the correct week / Friday and generate the report.
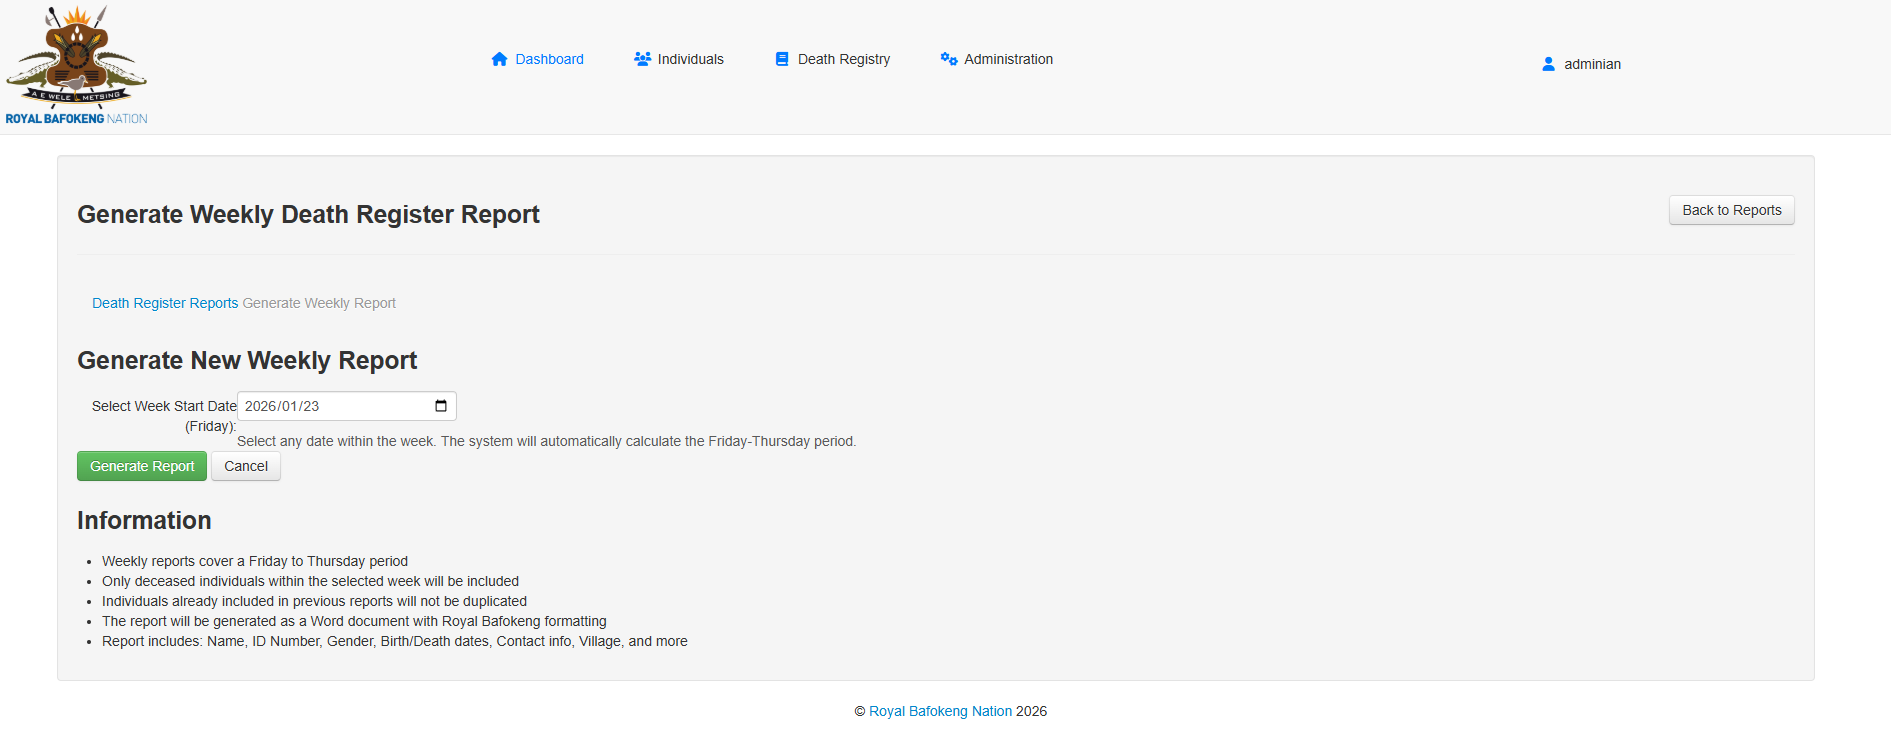
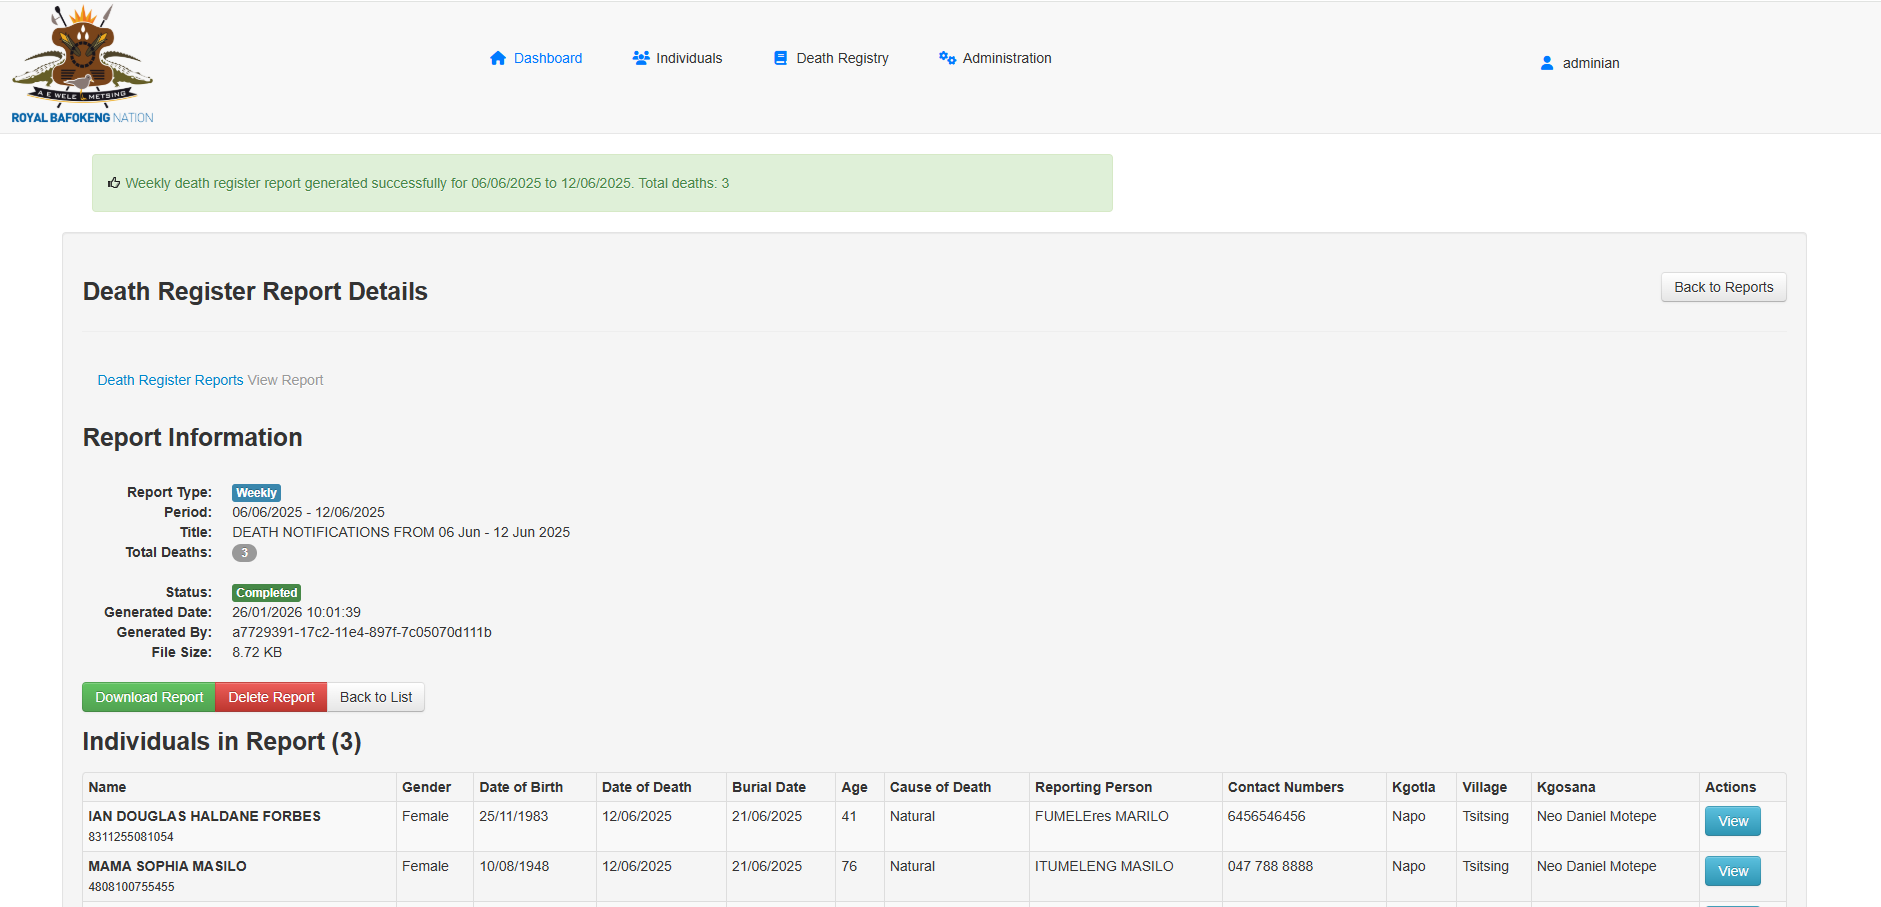
The report will be created and summary will be provided of the report's details and deaths included.
Download/Send Death Register Report
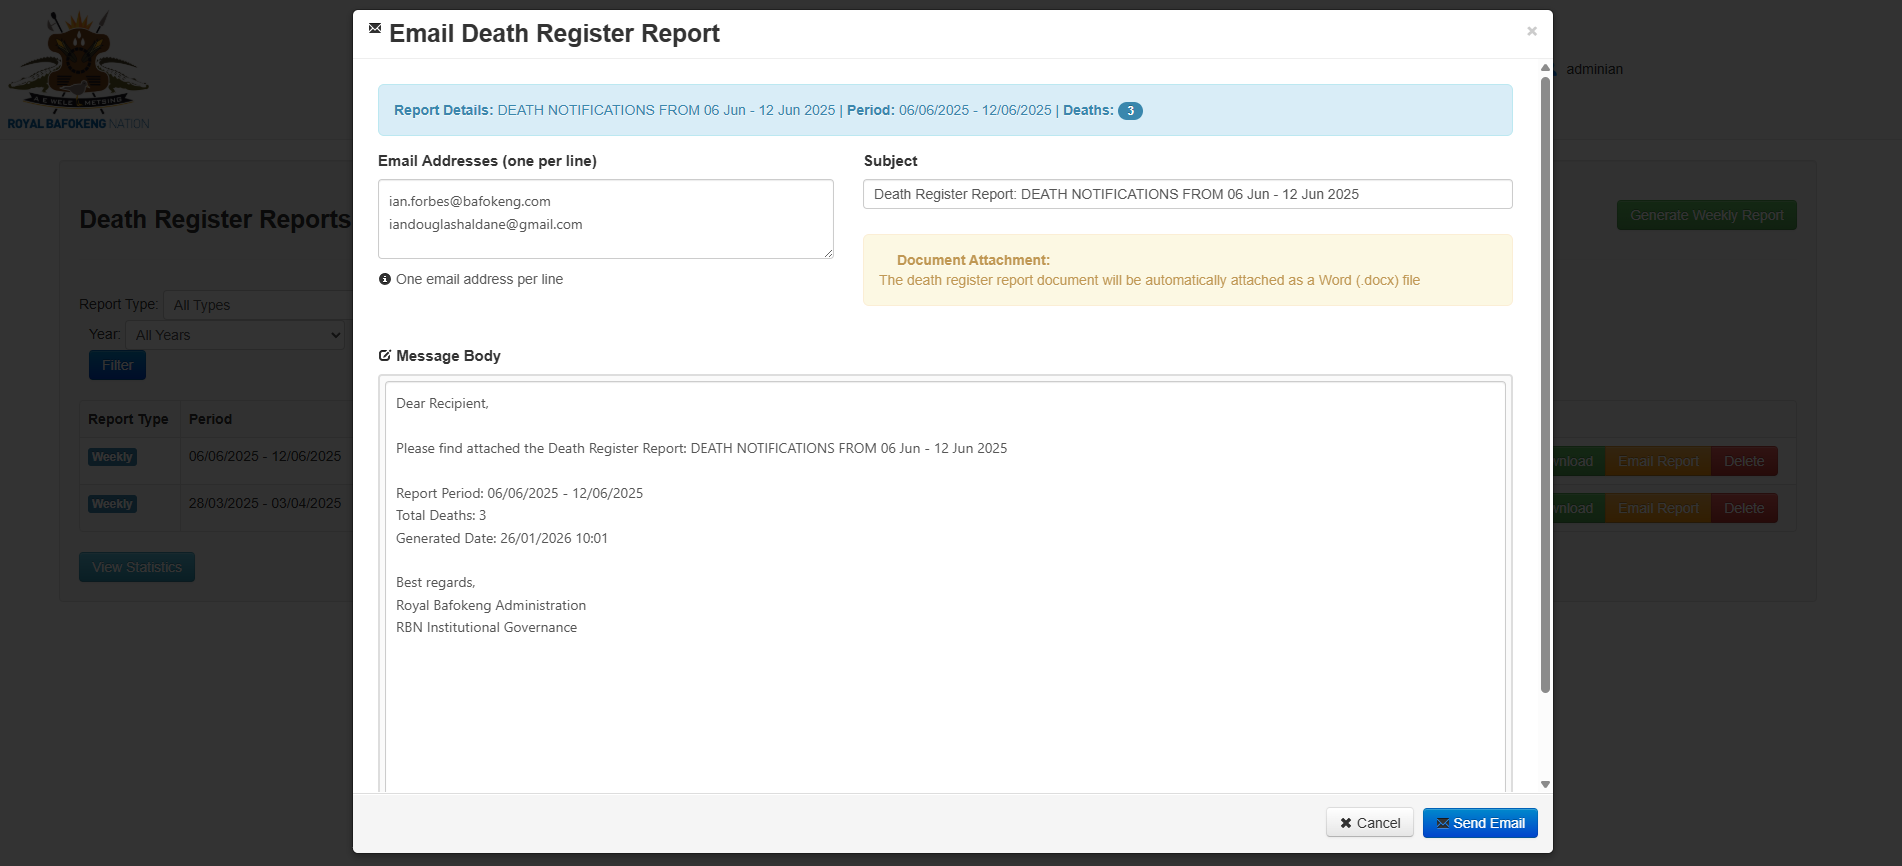
Email Report
Click on Email Report
The email form will populate the the standard recipients of the report, any of the email address can be removed or additional emails can be added.